
Install and Configure the client!
- Request a configuration file from your systems administrator
- Download the configuration file to the system you will be connecting to the vpn
- Download and install Wireguard client for your Operating System https://www.wireguard.com/install/
- Run the installer and open Wireguard
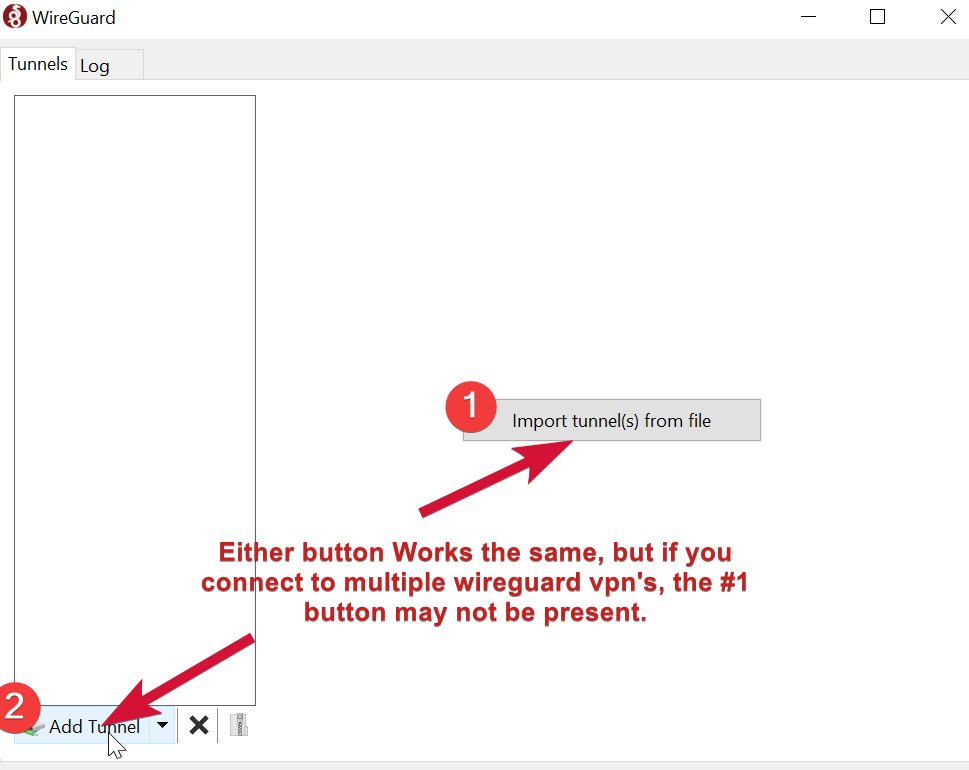
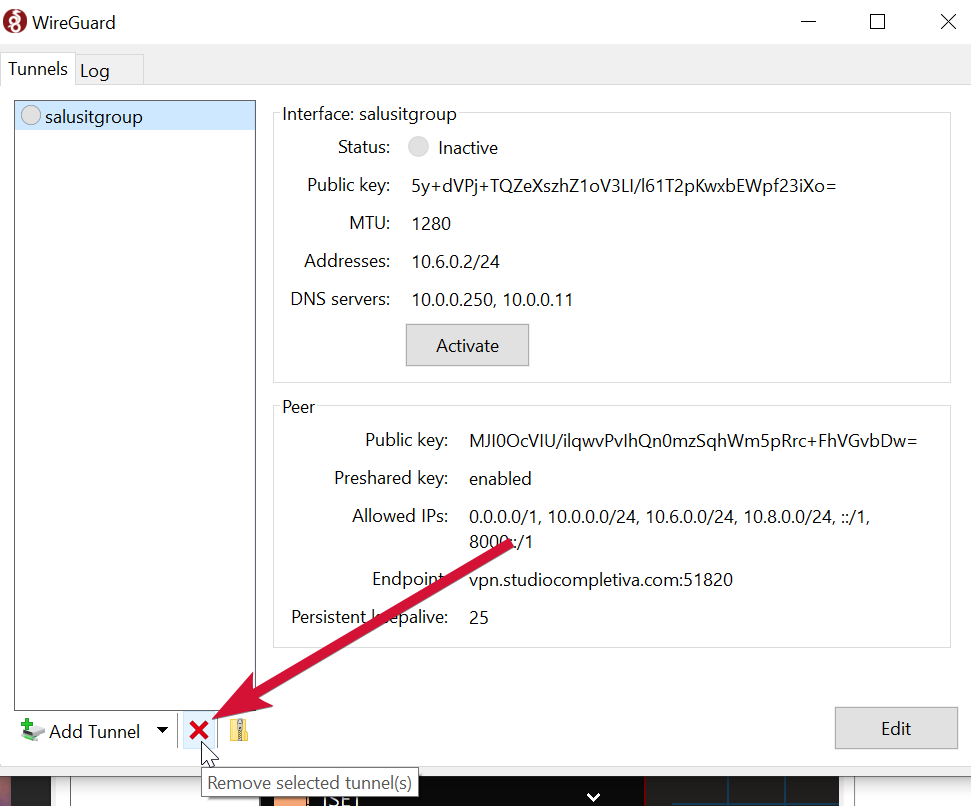
- Click on Add Tunnel (or Import Tunnel in the display window button #1)
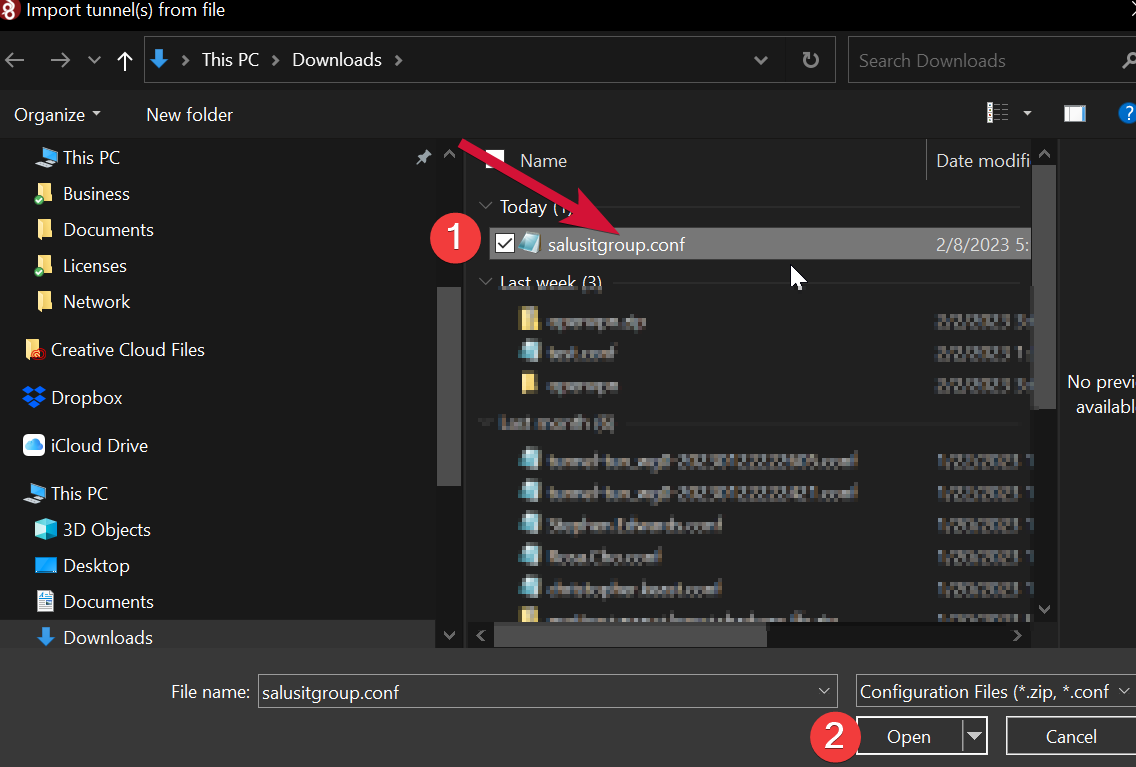
- Locate the config file you downloaded in step #2 using the select file dialog box presented and press Open
- Start Wireguard by clicking on Activate in the right pane under the configuration display
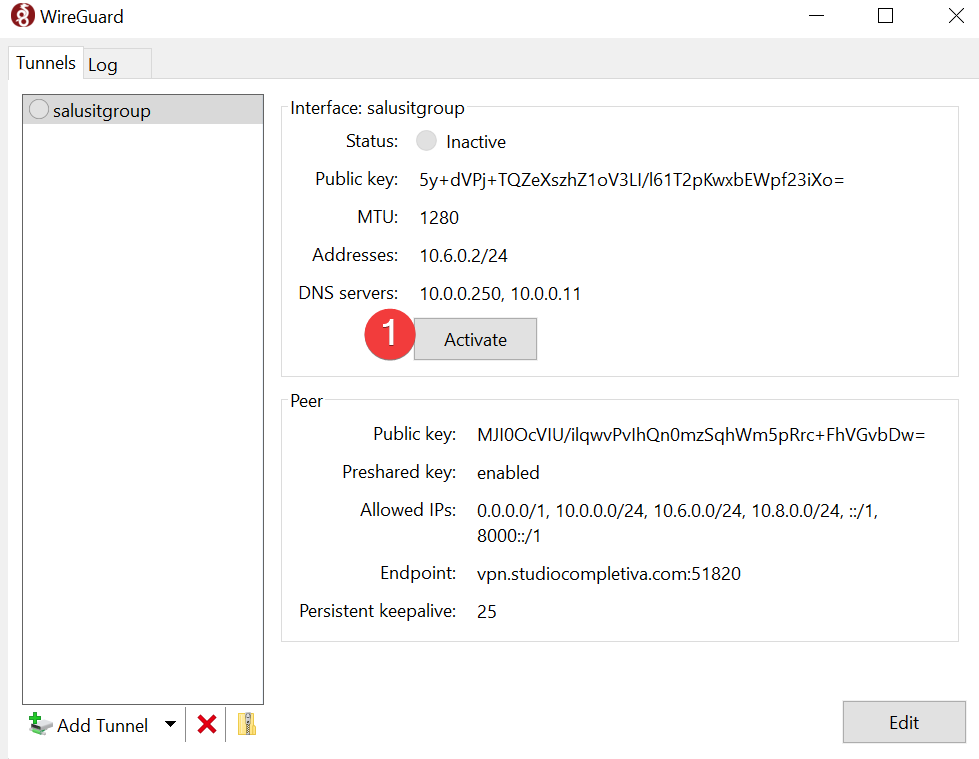
You should now have full access to the NAS and all internal network resources!
Please report any issues to support@studiocompletiva.com>
Remove Configuration and Start Over
NOTE: If you need to start over with a new configuration file,
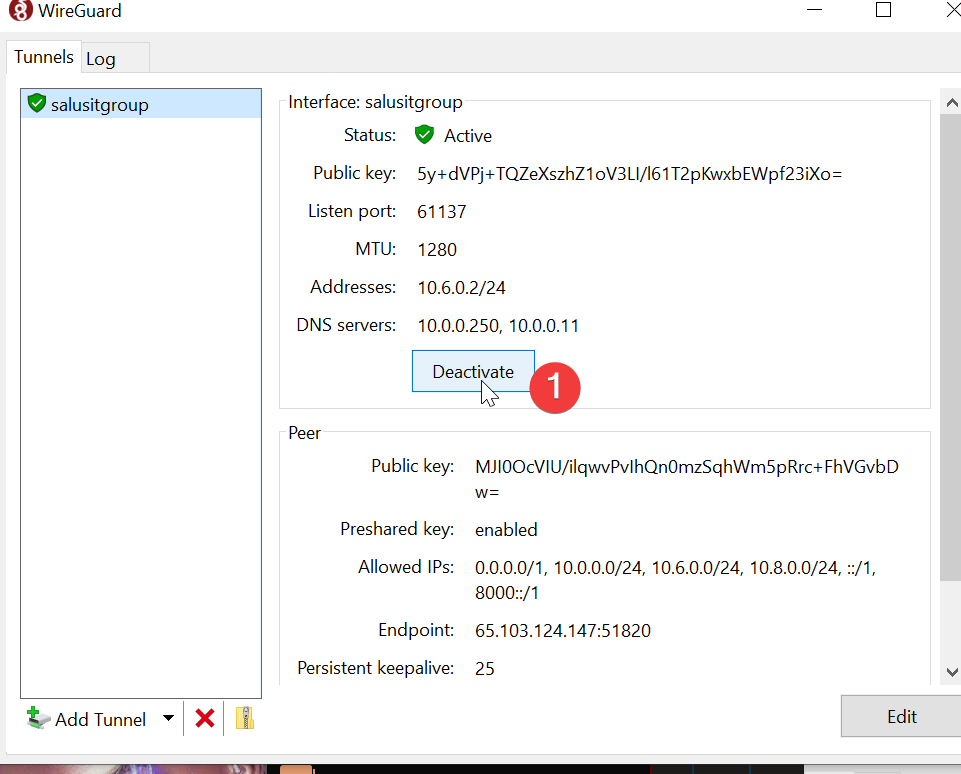
- Disconnect from the Wireguard connection
- Remove the old tunnel
- Proceed to STEP 5n the instructions above!
[!NOTE] If the old conf file is in the same place, Windows may rename the file using special characters. Watchguard does not like that. Delete the old conf and rename the new file.
Example: wireguard_user(1).conf should be renamed to wireguard_user.conf